Showing posts with label Meg Bentsen. Show all posts

Monday, April 18, 2016

Installation

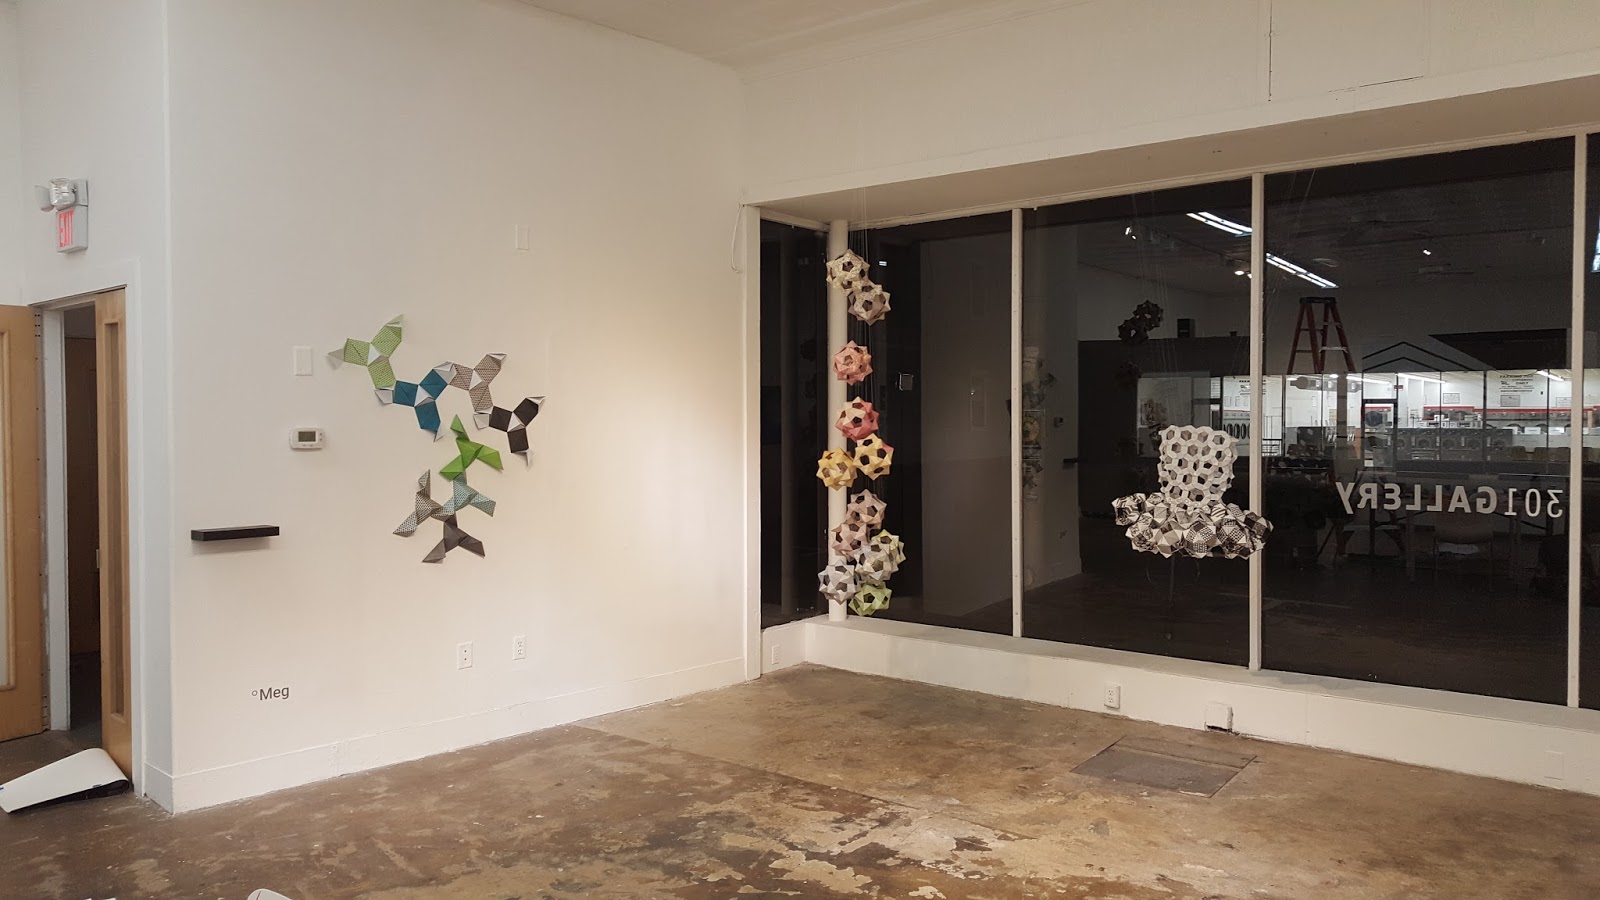
Here are the photos I remembered to take during the installation. Sorry for the poor cell phone camera quality. I plan on taking nicer images with my actual camera the night of the show and at Uninstall to mock the before images.

Huge shoutout to Angel for helping me hang the dress and the models since I'm way too afraid of heights.

The space before installation.

Getting the layout down


 Hanging things are up!! Now to figure out the wall piece.
 Everything is up and the space is all cleaned up!
Close-ups! 


Just have to add in my business cards and the origami rabbit to the shelf. 
See you on Wednesday!

Tuesday, April 12, 2016

Business Card

Just wanted to include a post of my business card design. I'm in the middle of designing the website and the facebook page, but those will definitely be up by the date of our reception.

I decided to go with the name of Fat Rabbit Creative because 1) I really like bunnies, 2) I do more than just design work so I didn't want to use the word "design" on the card, and 3) I wanted a name that was memorable and kinda fun, 4) teachers have pointed out that my previous self-branding has lacked my personality despite showing off my love of clean, Swiss design, and 5) I wanted something with a little attitude

I did several designs for the origami rabbit but all the rabbits that were more plump caused my test audience (i.e. my roommates) to not be able to recognize that the shape was in fact a rabbit.

All-in-all I'm quite pleased with the design.
Back                               Front

A Dress! A Real Origami Dress!

I'm gonna take you through step-by-step the construction of this dress because I was actually very good about taking pictures.

As a reminder, I am using the original 30 unit model that I've shown many pictures of as my base design. I am used scrapbook paper I got in various black and white patterns. I decided to go with this after John suggested I add color back into my thought process and scrapbook paper is thin enough that I wouldn't completely damage my hands in the process of folding everything.

I am also building this on a dress form I have on loan from a vintage shop (Three Graces Vintage, Stafford Springs, CT) from back home. It was very slender when I first got her, but with a lot of adjustment, Betty the dress form became Bertha.

Humble Beginnings: I had to use blue painters tape to keep the flattened units in place until I could wrap around the dress and it would be able to hold it in place themselves. I figured I should start in an area that had to have some hint of a form after the paper was removed from the dress form. Since I wanted the dress to give a general shape of a woman's body, I decided to start building off of Bertha's breast. I cut 60 sheets of 6" squares in fourths for the bodice.


From here I had to reflect the same pattern on the opposite side.


And wrap it around to the back. (Bertha has bit of an asymmetrical butt. She's odd. Things shift.)


From here, I had to go under the shoulder and connect the back to the front before I could continue down to Bertha's stomach.


From there, it was just about finishing the bodice. About half way down, I ran into a problem where I couldn't use pentagons or hexagons to link the back and front together as they would have overlapped or created too much extra space and cause the freestanding dress to lose all sense of Bertha's form. I decided to fix this by making heptagons and octagons. It also provides the (hypothetical) wearer with more flexibility.


And now onto the skirt. However, I had to make a decision on whether I wanted to go with 6 unit models to build off of that were the same size as the bodice units were or to go with 6 unit models that were created out of full sheets (in this case, 6" squares) of the scrapbook paper. I decided that I liked the larger models better as they really helped fill out the shape of the skirt and would be easier and quicker to build off. The skirt took 228 sheets of paper.


And here's how the dress looked with the 6 unit models all the way around the start of the hips.


From here, I had another decision to make: continue building the dress with the 6 unit models or incorporate the 12s. I chose the latter. Half way done with the skirt.


And here is the completed dress!

 
In all, I folded just under 300 units. And the finish dress kinda reminds me of a tutu. I like it short though. Looks more modern in my opinion.

Also, the side view:
Remind you of anything perhaps?
Yeah, that was not on purpose. Just kinda happened. I'm just gonna roll with it.

Onto the next step!

Monday, April 11, 2016

From Model to Models

So just as a refresher, here's what model look I've decided on:
This model is made up of 30 units.

The beautiful part about modular origami? There is not one set number of units you have to use to create a model. This particular method can also be made into a 12 units model
And a 6 unit model
So I decided to see if I could weave this different sizes together
It was pretty simple and it worked out really nicely. Unfortunately, I forgot to take a picture when I had 12 unit models completely surrounding the 30 unit, with 6 unit models attached to the 12s. It kinda ended up looking like a sun, especially because of the colors I used.

I also tried my hand a few more model designs:
This is a 30 unit that kinda resembles a flower but still has the gaps needed to interweave models together.

It also has a 12 unit variation, but cannot go any smaller because it has to connect 4 units together to stay intact, not 3 like the previous models I've shown.


I tried one more model, but this one can only be as small at 30 pieces as it requires 5 units to connect together to stay intact.
The cool thing about this unit is that the "petals" can be curled and give the model a completely new look.

Alright, I've had my fun. Now it's time to get down to business and actually make a dress.


Finally, Progress Towards the Main Idea

With Some Serious Revisions

I have scraped the connection to the elements and the zodiac. Trying to balance both has proven to be two broad of a topic. However, I'm using the idea of varying textures (like I was originally doing to show the differences between the elements).

At this point, I felt pretty stuck. I didn't really know how to move forward and my panic was causing me to lose motivation.

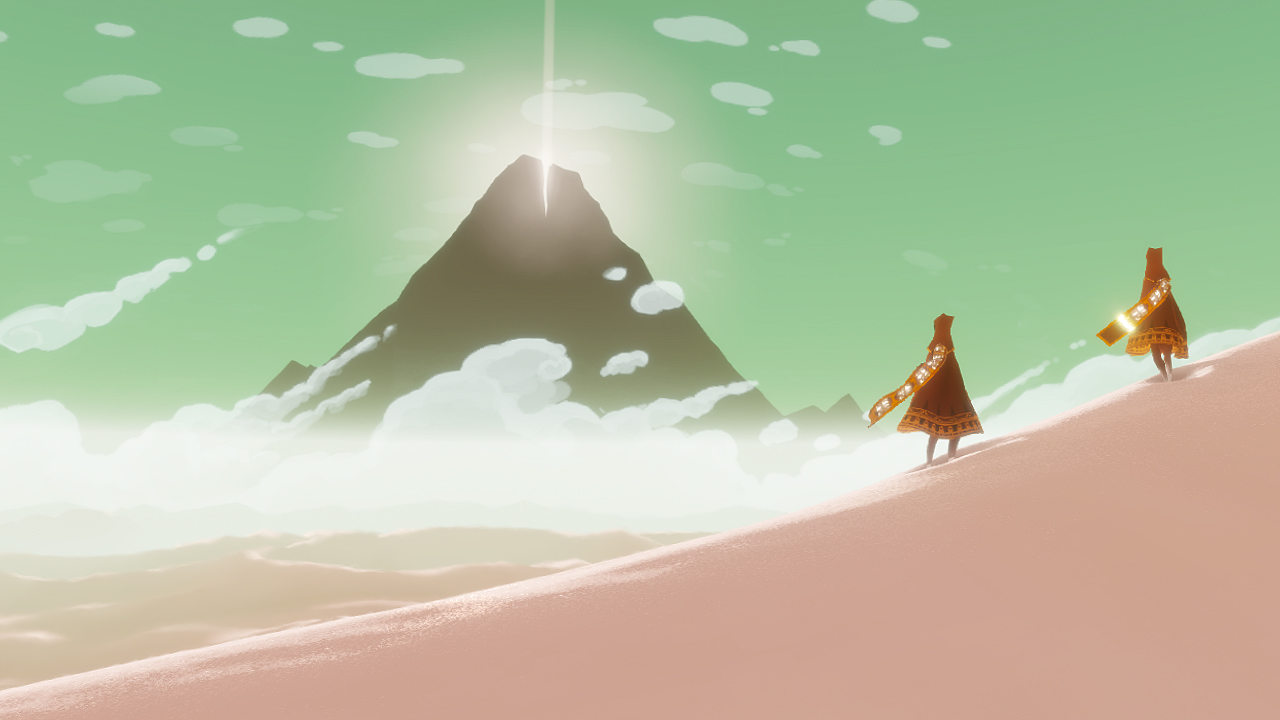
Luckily we had a guest speaker come in to talk to us and while we pitched our projects to her, she mentioned a video game that used simple graphics and geometric shapes to create a complex and unique game. This was a game that I had recent watched a playthrough of and I absolutely fell in love with the art direction and story telling. The game is Journey by Thatgamecompany and is available for PS3, PS4, and PC. Here are some in-game screenshots:

I don't really think I can explain why but her mention of this seemed to be the kick I needed to continue on. I think it's because the game is so simple. You don't speak. There's no dialogue. It's just you and another player (at times) that you can't communicate with except for a unique chime each player is assigned, no two the same. The game tells the story visually and that's what I've wanted to do from the beginning: I've wanted to tell a story. I wanted people to know that I have this lifelong love of origami and I while I may be a design major, I have many other interests that utilize design that isn't meant for print or screen.

Like many others in my field, I took a lot of other art classes that had nothing to do with design. However, I was either really terrible at them due to lack of natural talent or I would take forever to do the same work as everyone around me (that also might have been because I'm a perfectionist). When I took my Electronic Design I course in high school, I could apply all the skills that I had been attempting in all my other classes in one cohesive unit.

Simple things come together to make something complex and unique.

Simple things come together to make something complex and unique.

Simple things come together to make something complex and unique.

That's what inspired me to make these dresses in the first place!! Boom! Hello motivation, my old friend! Let's get back to work!

Models: A Deviation

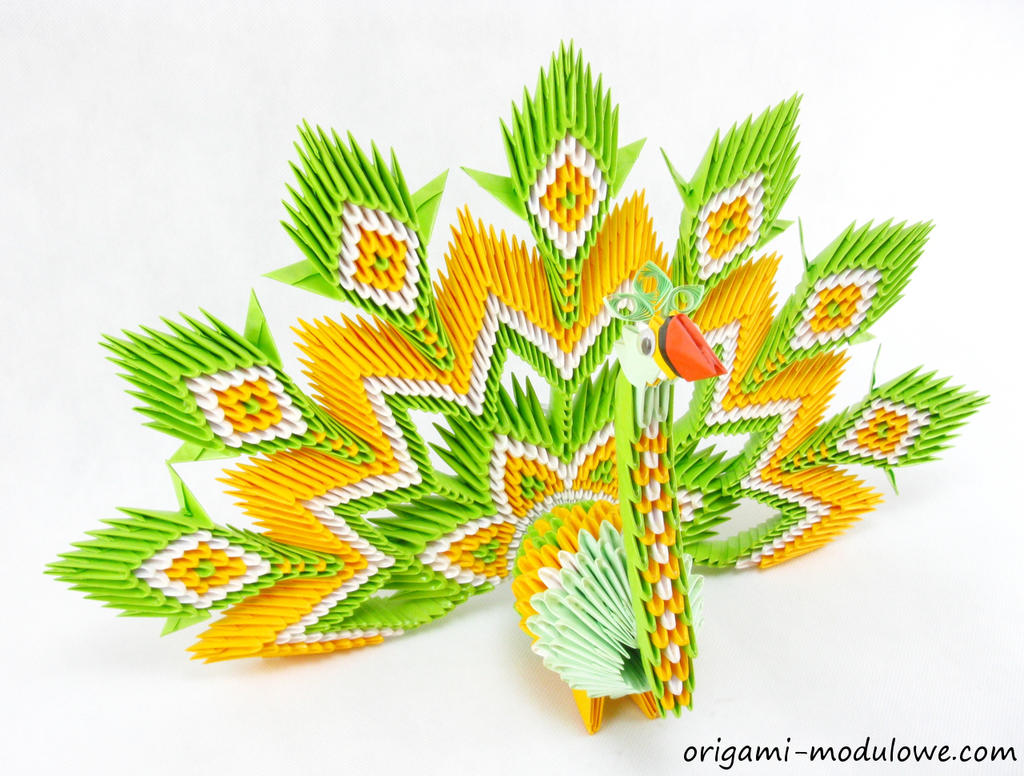
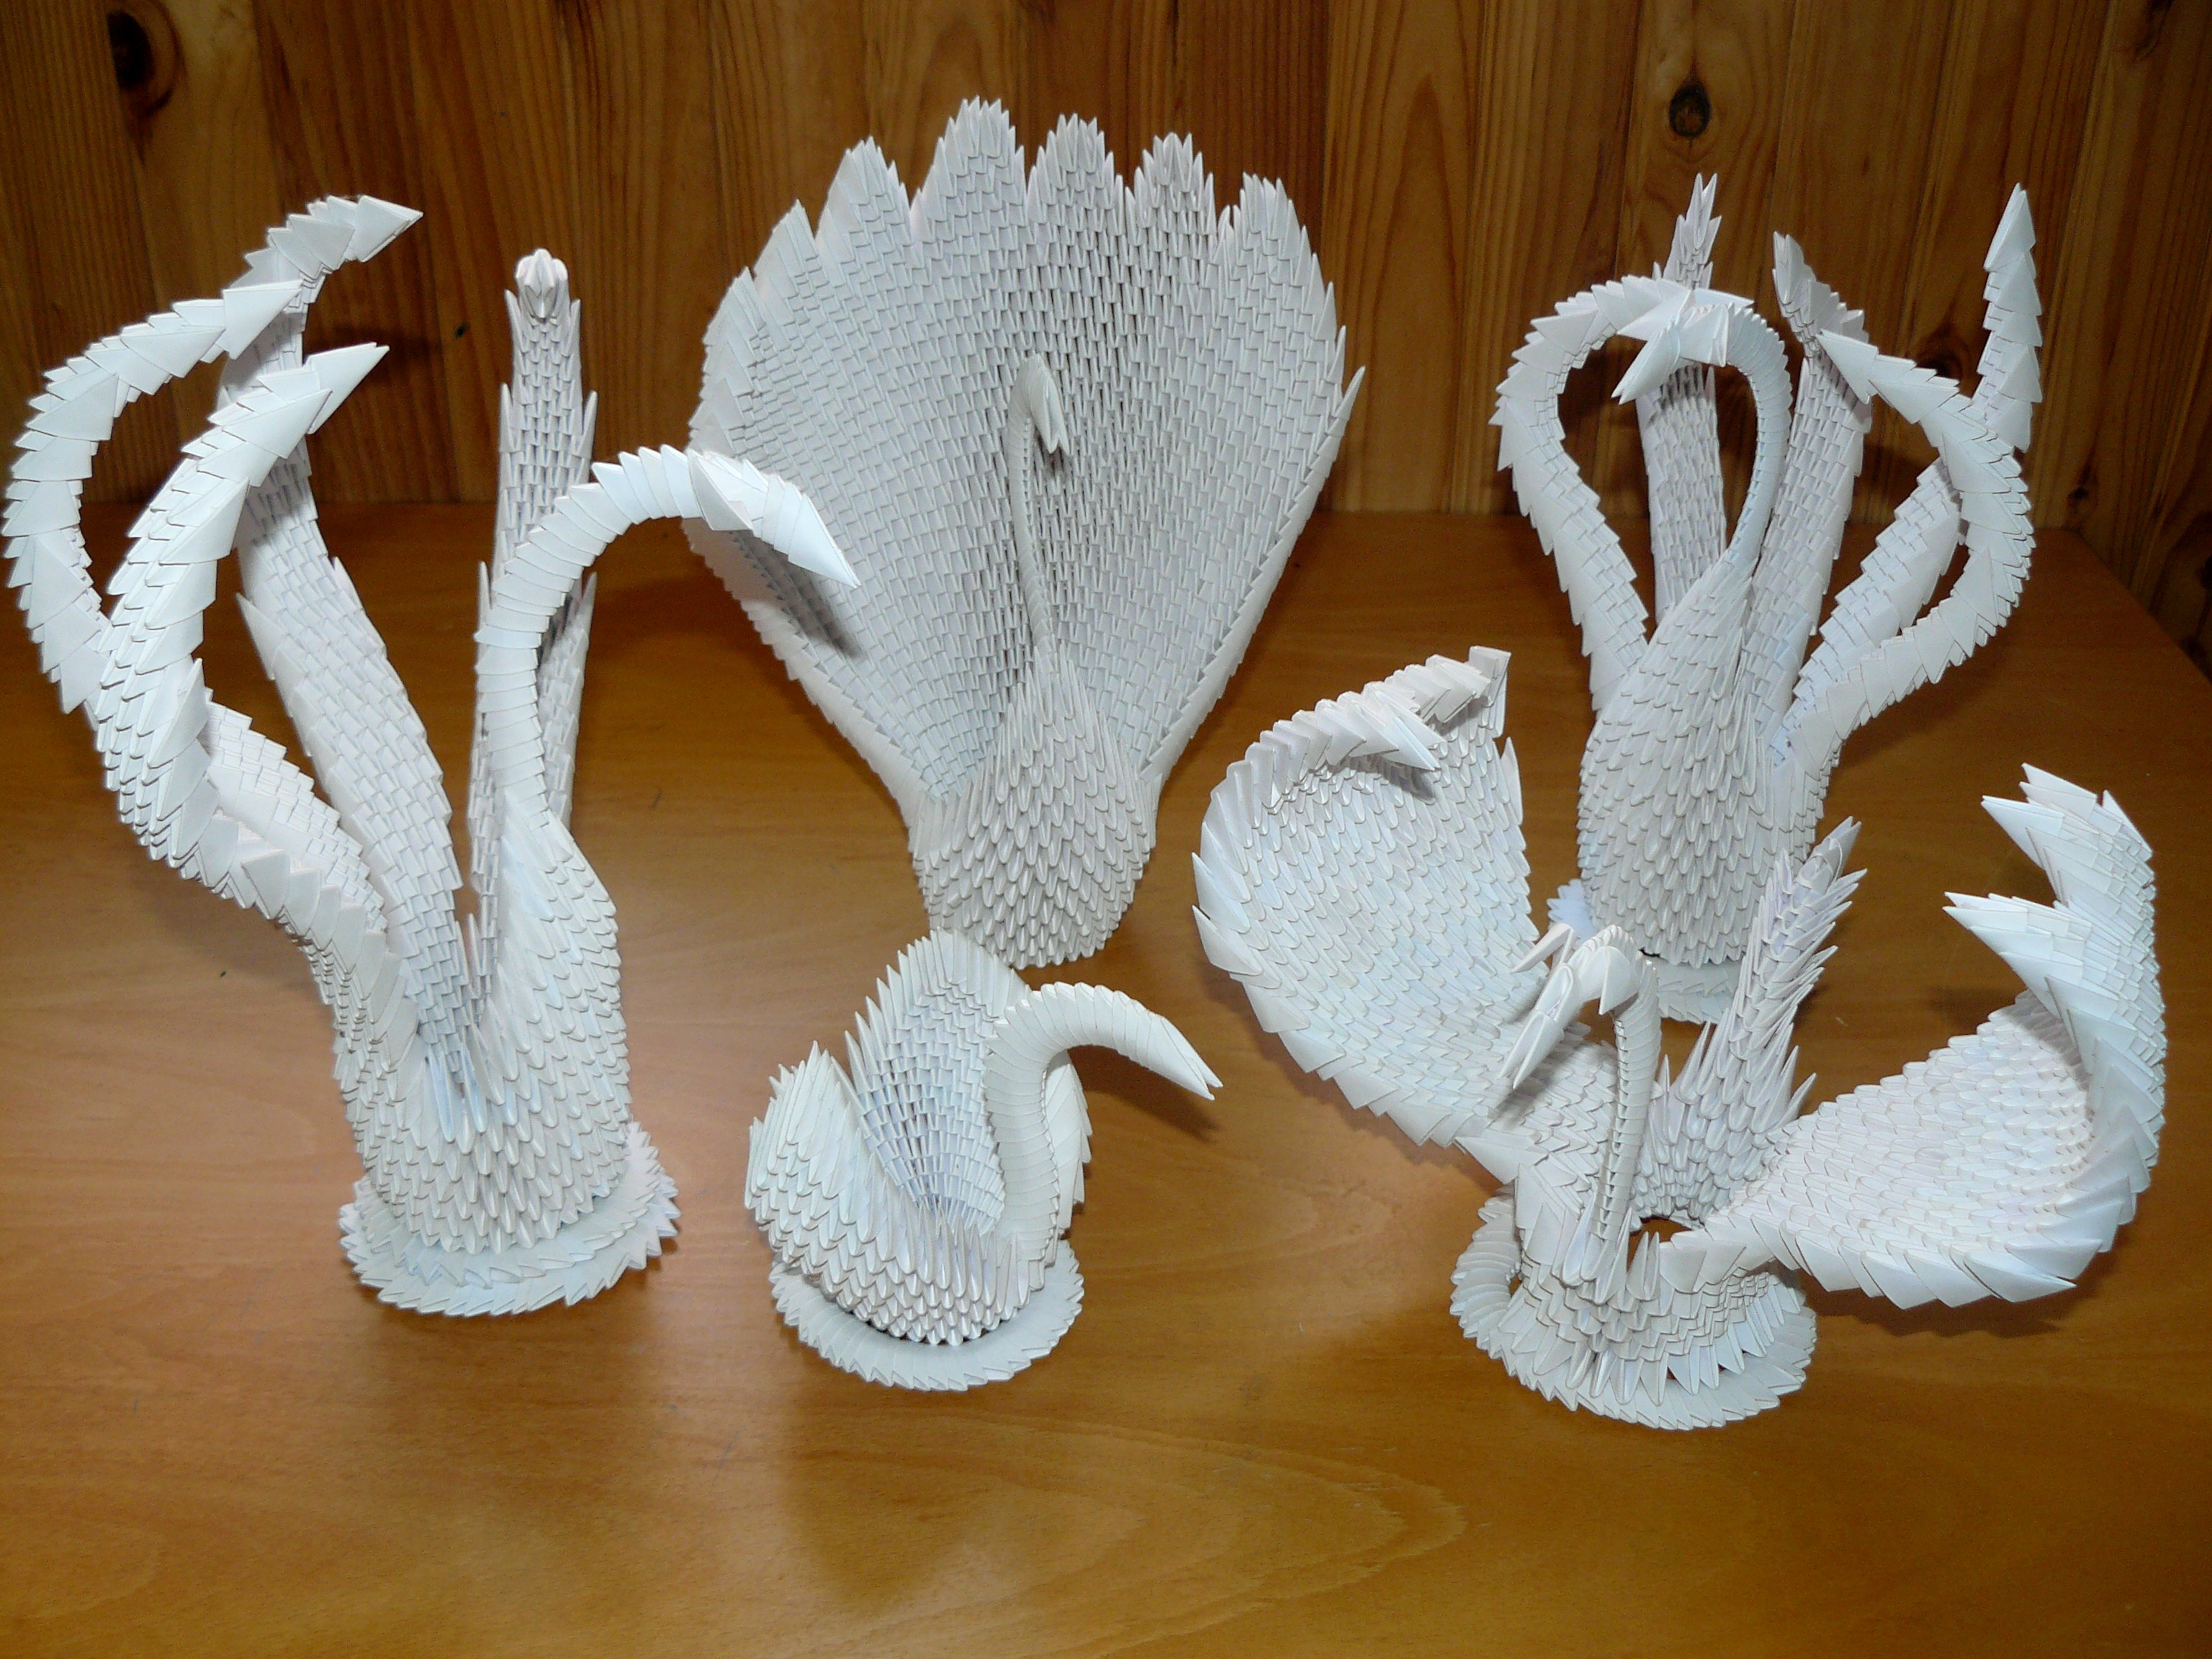
So one of the first things that comes up on a google search of "Modular Origami" is a tutorial on how to make these itty bitty units that are maybe an inch big. These units "cap" each other to form each model. Unlike the previous models I've posted about, these units allow the create to make virtually anything they could think off. They offer the creator a lot more options than the geometric models can. I've included some examples below:


I decided to try my hand at creating this little units. However, a problem quickly presented itself.
This unit is made up of 36 pieces and was constructed using a single sheet of 8 1/2 x 11 copy paper. It fits in the palm of my hand. My hands are very small so this wasn't good. How was I supposed to cover a dress form with these? I would very realistically need several thousand to do a single dress.

The only really cool thing about this model was the fact that the edges of the paper were wicked sharp. Gave me an idea to test out in the future: paper brass knuckles. Or jewelry if you could stand the constant jabs in the neck.

I brought this up to John and he said that maybe I could use these to make miniature models of the dresses. It was great idea in theory.
And I had every intention of doing it. I cut up over 1,000 pieces of paper and folded about 300 hundred in a week before deciding that I was never going to finish anything if I continued down this path. I would need about 1,000 units for each model.

Back to the drawing board.